iOS
1. Install the SDK
To integrate the Bidease SDK into your Xcode project using CocoaPods, add the following to your Podfile:
platform :ios, '12.0'
...

pod 'BideaseSDK/LevelPlayAdapter'
Then run the following commands in your macOS terminal (or via CocoaPods.app):
$ cd path_to_Podfile
$ pod update
⚠️ Make sure to always use the latest available SDK versions from Bidease.
Test mode
Once you’ve implemented the SDK, you can test ads before release.
Add additional pod to enable test ads:
pod 'BideaseSDK/LevelPlayAdapter'
pod 'BideaseSDK/TestMode'
⚠️ Important:
- Test on US geo during QA to ensure proper ad delivery and fill rates.
- Test Mode provides nearly 100% fill for QA testing, but must be disabled before submitting the app to the store.
- Ensure IDFA/GAID tracking is enabled during QA so the Bidease team can review logs and assist with troubleshooting if needed.
2. Add Required Keys
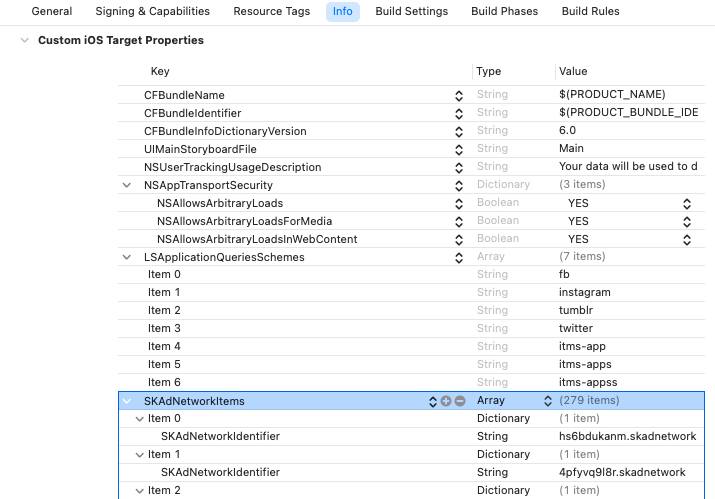
In your Xcode project settings, navigate to: YourProject ➡️ Info ➡️ Custom iOS Target Properties. Right-click on any row in the table and choose Show Raw Keys/Values. Then add the following:
- Add the key
NSUserTrackingUsageDescriptionwith the value:Your data will be used to deliver personalized ads to you. - Add the key
LSApplicationQueriesSchemesas an array with the following values:fb,instagram,tumblr,twitter,itms-app,itms-apps,itms-appss - Locate the key
NSAppTransportSecurity:- If it doesn’t exist, create it.
- Expand the section (triangle icon) and add these subkeys:
NSAllowsArbitraryLoads→ YESNSAllowsArbitraryLoadsForMedia→ YESNSAllowsArbitraryLoadsInWebContent→ YES
- Add SKAdNetworkItem identifiers into the
SKAdNetworkItemsarray. You can copy the required identifiers from the following file: SKAdNetworkItems.
The final setup in your Info.plist should look similar to the example below:
3. Add Custom SDK Network
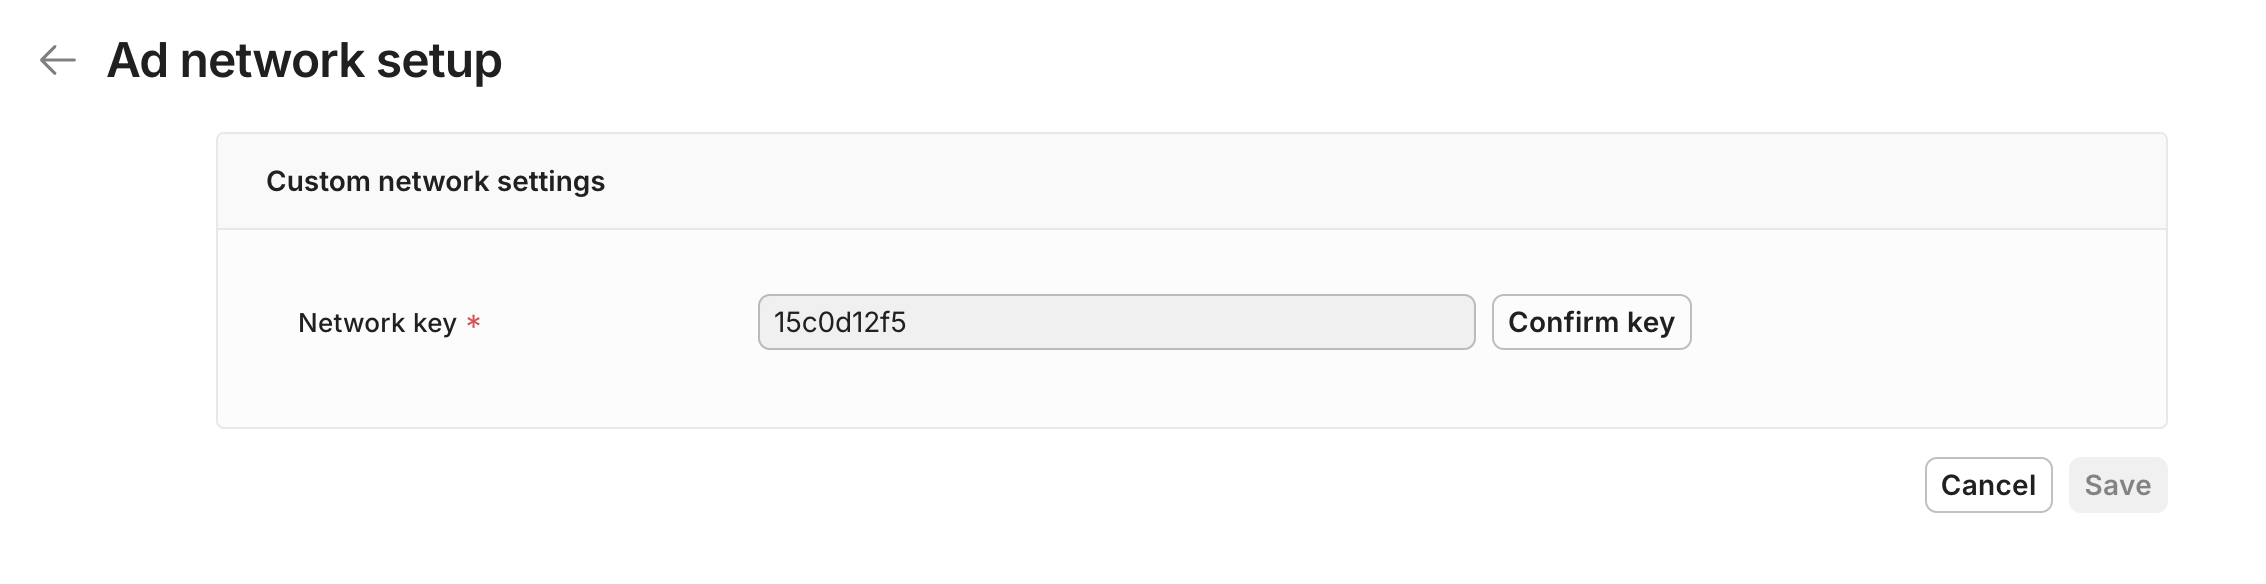
Log in to your Unity LevelPlay account and navigate to Mediation ➡️ Setup ➡️ Networks.. At the bottom of the page, click + Add custom network.
Enter the Network Key: 15c0d12f5, confirm it, and add Bidease SDK as a new network.
For Reported Revenue, select Rate based revenue.
4. Manage ads
From the dropdown menu above, select the app you’d like to configure. In the Custom section, choose Bidease SDK. Supported ad formats: Rewarded, Interstitial, Banner.
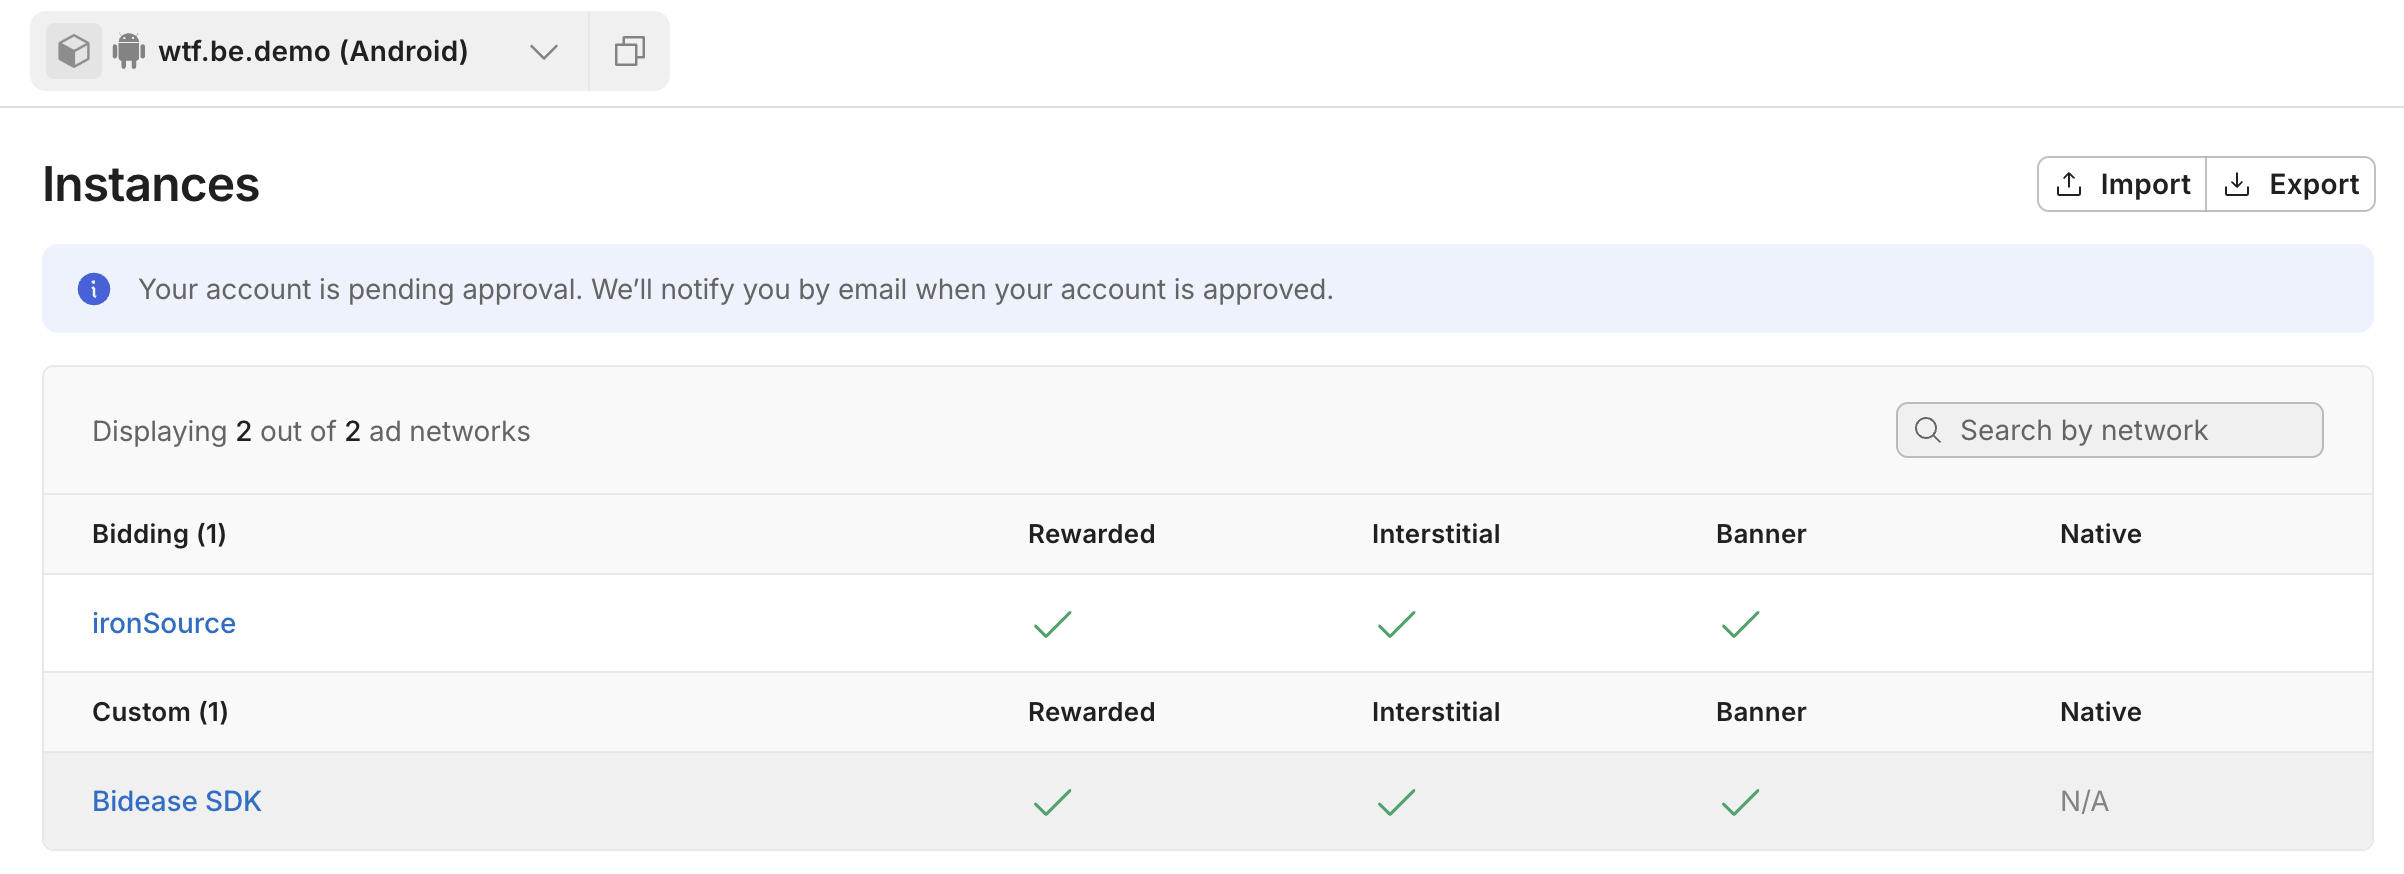
Configure the fields as follows:
- Placement ID: use the format
AdFormat_ecpm_X.X, where ecpm is the required separator and X.X is the floor price value (any number).- Example:
Interstitial_ecpm_1.3➡️ floor price = $1.3 - Example:
Banner_ecpm_0.5➡️ floor price = $0.5
- Example:
- Instance Name can be the same as your Placement ID.
- Rate: enter the same floor price as in the Placement ID.

⚠️ Remember to save all changes to apply your configuration.
Next steps
- Android setup → LevelPlay · Android
Updated 11 days ago